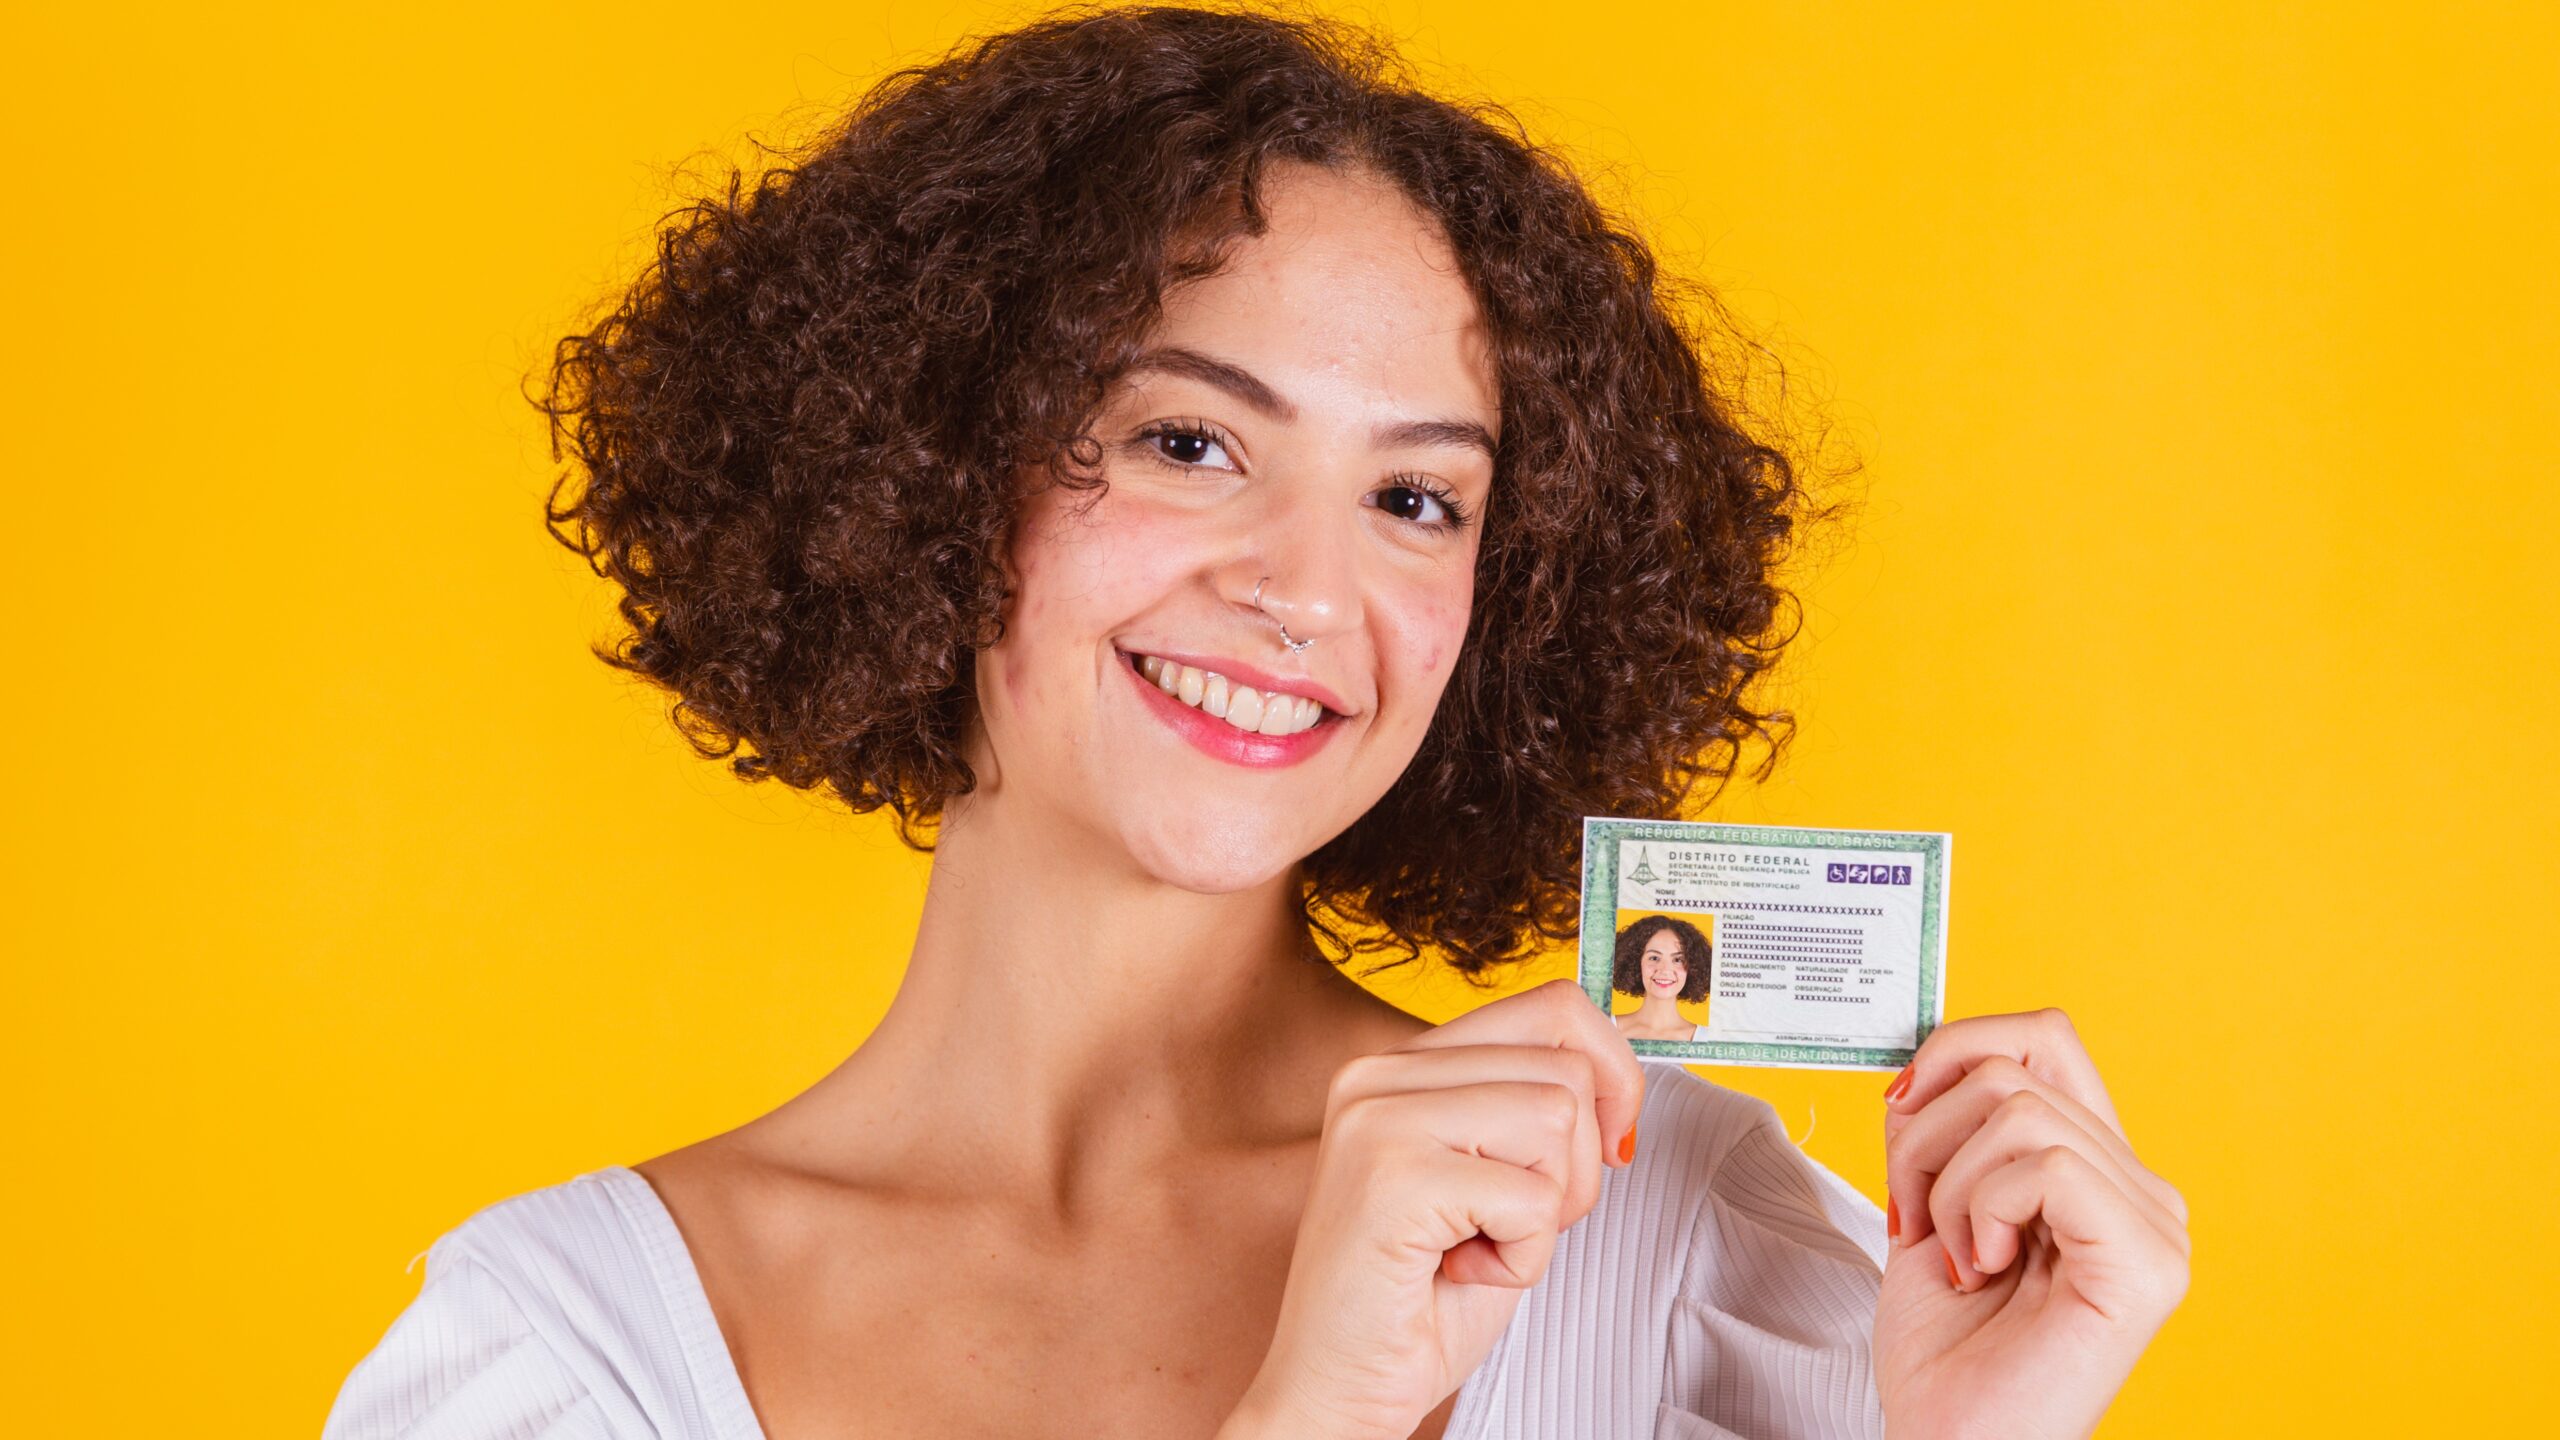
How to Get Your ID Photo Approved on the First Try
Getting an ID photo approved might seem like a simple task, but as many people know, it can be surprisingly tricky. Whether you’re applying for a driver’s license, passport, or any other form of official identification, your photo needs to meet specific guidelines to pass the approval process. The worst thing that can happen is getting your application rejected because of a poorly taken photo. So, how can you ensure your ID photo is perfect from the get-go? Let’s dive into the steps that will help you nail that photo on the first try.
Understanding the Guidelines for ID Photos
Before you even step in front of the camera, it’s crucial to understand the exact requirements for your ID photo. Different organizations, such as the DMV or passport office, have their own specific standards, but there are general rules that apply almost universally. Knowing these requirements beforehand can save you time and frustration and ensure that your photo gets approved on the first try.
The background of your ID photo is one of the most important aspects to get right. The background must be plain and neutral, often white or light gray. Avoid backgrounds with any patterns, textures, or objects that might distract from the focus of the photo, which should be your face. It’s best to take your photo in a well-lit room with a plain wall to avoid any potential distractions or shadows. A clean, uncluttered space will help keep the focus on you, as the background should not overpower the image.
When it comes to your expression, the rule is simple: no smiling or frowning. While you may be used to smiling in photos, ID photo guidelines require a neutral, calm expression with your mouth closed. The goal is for the photo to accurately represent how you look in official documentation, so a neutral expression is key. Think of it as having a serious but natural look, as if you are listening attentively to someone or simply standing still. The important thing is that your face remains natural, without exaggerated facial expressions.
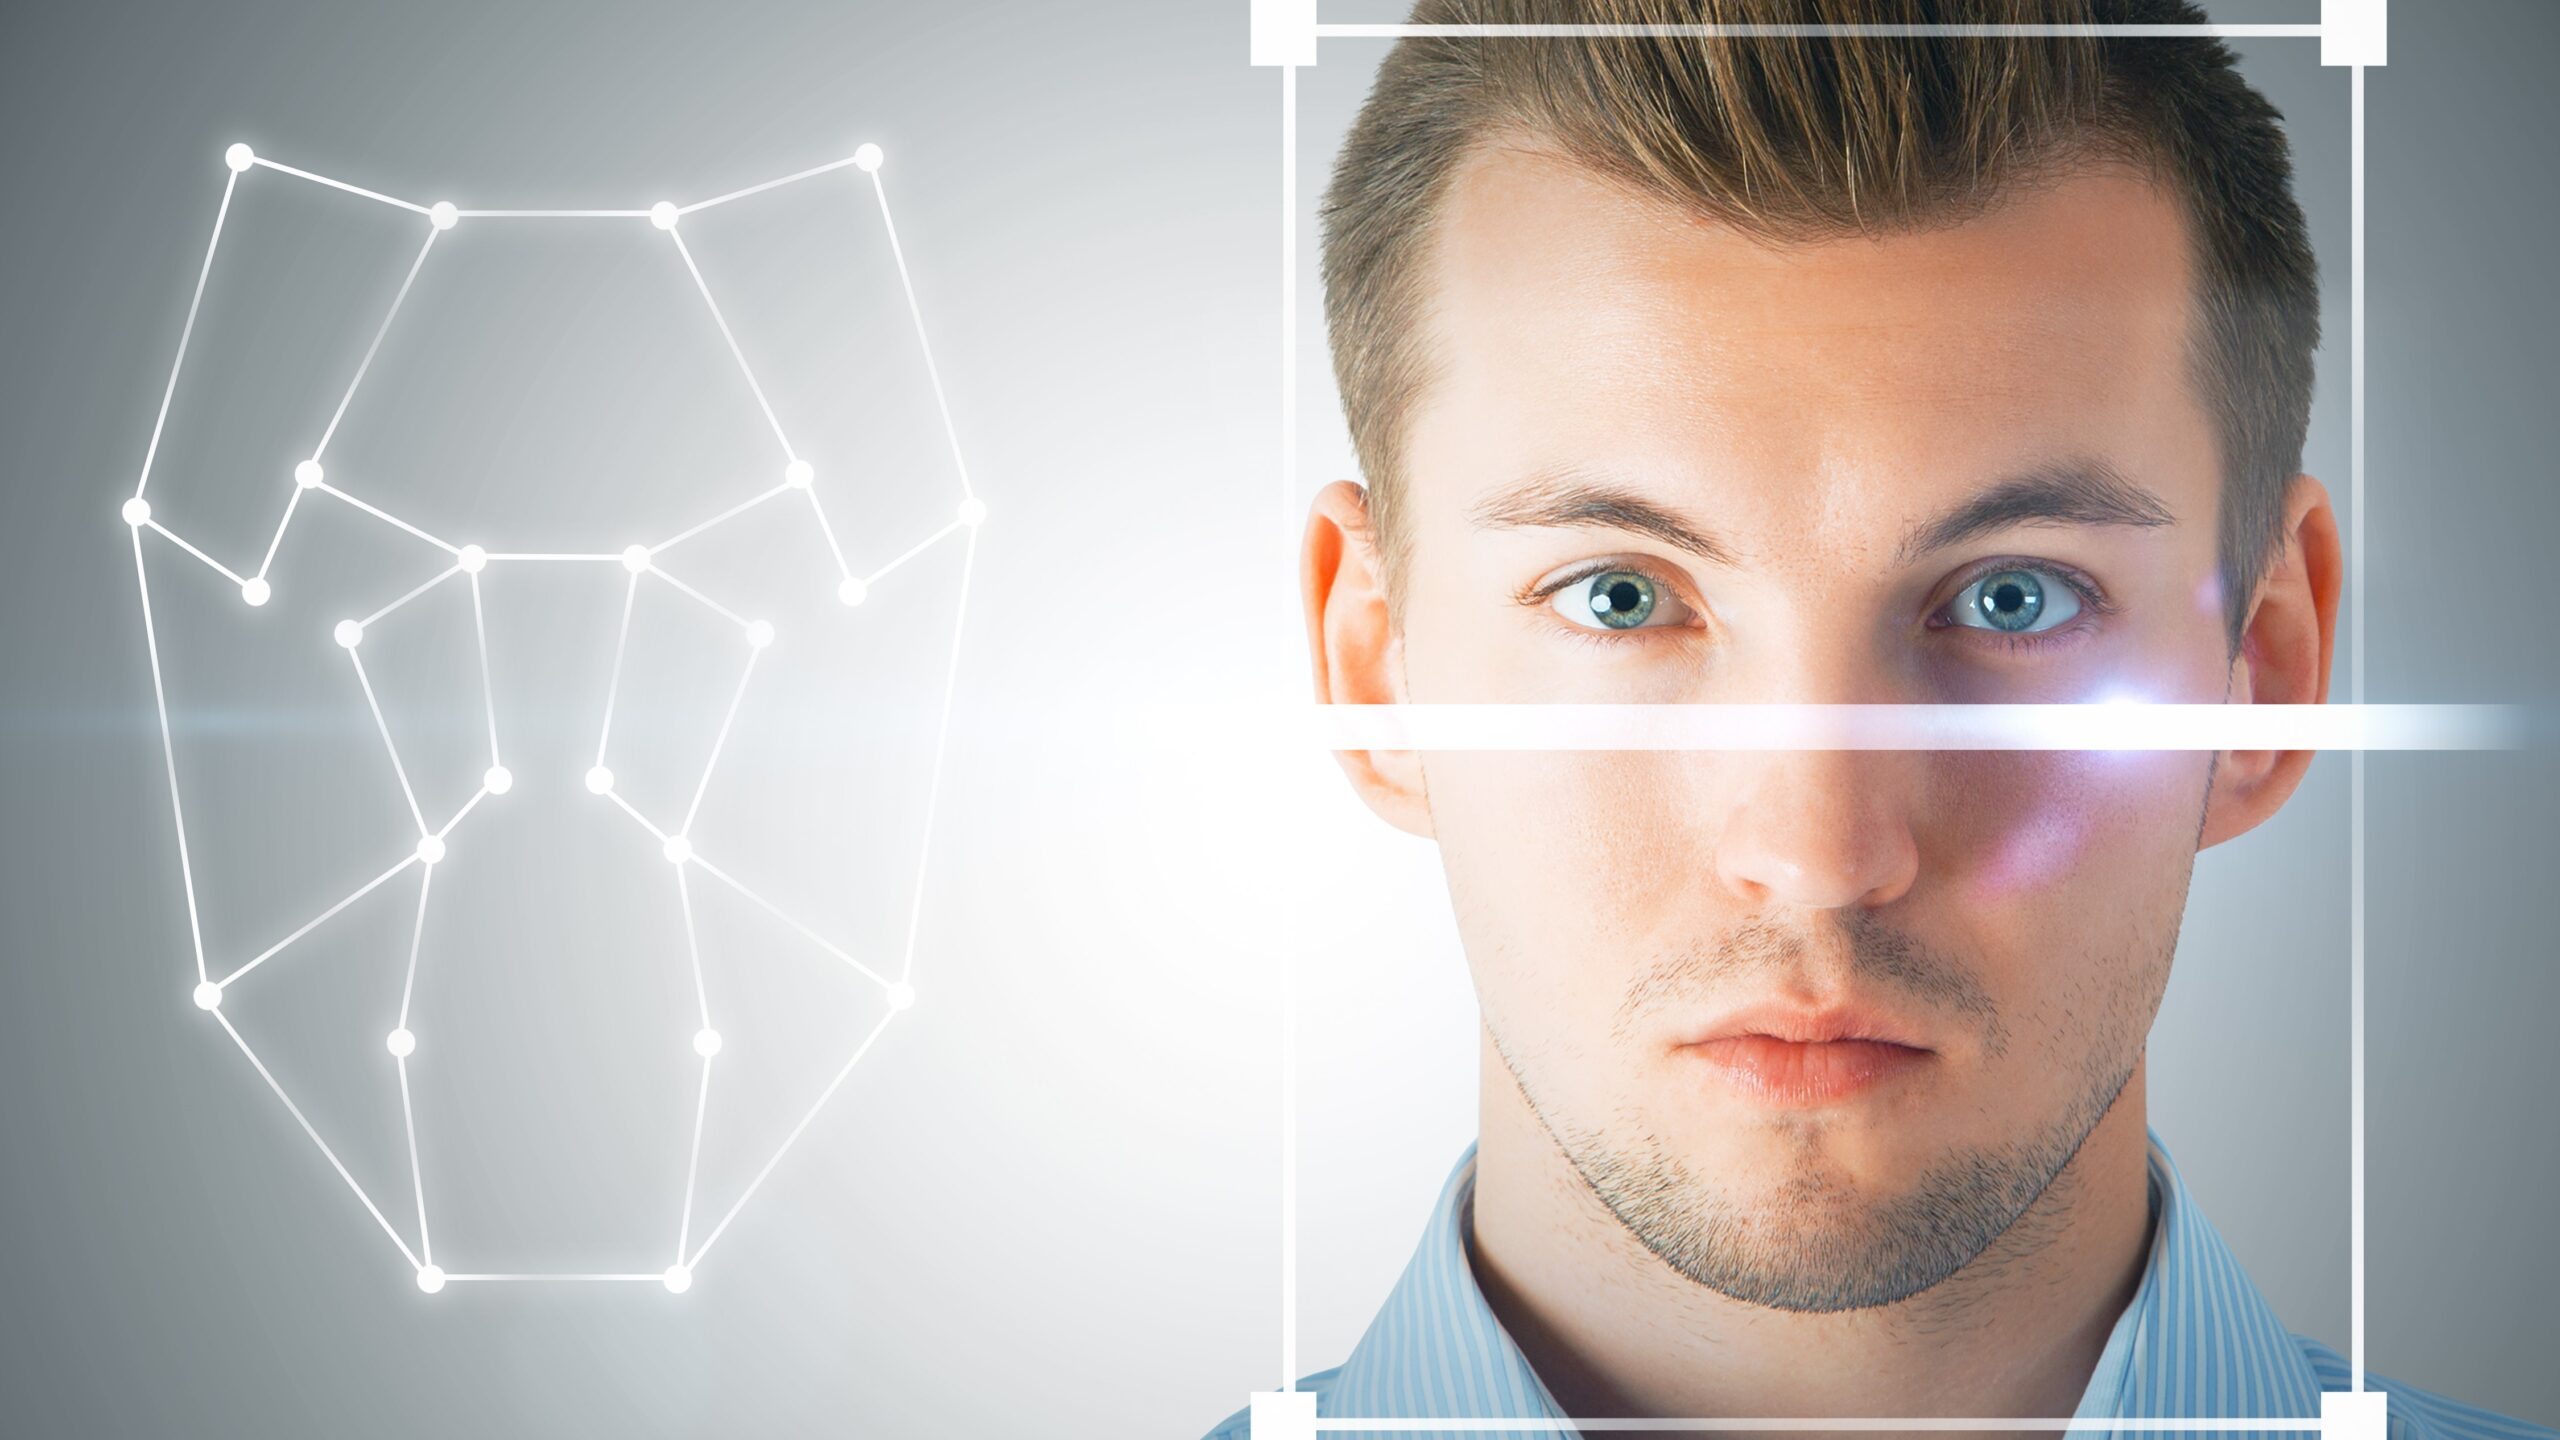
Eye contact with the camera is essential for a clear and precise ID photo. You should look directly into the lens, ensuring your face is fully visible. Looking to the side or downward can distort the photo and result in a rejection. Aligning your head correctly is equally important—your head should be centered and not tilted in any direction. This ensures that your facial features are properly aligned, and no part of your face is hidden, such as hair covering your eyes. Standing straight, with the camera positioned at eye level, helps maintain the correct posture and alignment for a successful photo.
Clothing and Accessories: Keep It Simple
| Aspect | What to Avoid | What to Choose | Why It Matters | Tip |
| Clothing | Busy patterns, logos, flashy colors, or anything too distracting | Solid colors, simple and neat outfits | Busy or flashy clothing can divert attention away from your face | Stick to solid colors like navy, gray, or white |
| Hats and Headgear | Hats, scarves, headbands, or anything that obscures your face | No hats, scarves, or headgear | These items may cover your face and violate photo guidelines | Wear a simple, clean shirt or blouse |
| Jewelry | Large earrings, excessive necklaces, or flashy jewelry | Minimal jewelry | Jewelry should not distract from your facial features | Choose subtle, small pieces of jewelry |
| Glasses | Glasses with reflections or flashy frames | Clear, non-reflective lenses, minimal frames | Reflections or large frames can obscure your eyes | Ensure no glare and that your eyes are visible |
| Makeup and Accessories | Overly dramatic makeup or flashy accessories | Natural makeup, minimal accessories | Too much makeup or accessories can distract from the focus on your face | Keep makeup light and natural |
Makeup and Hair: Stay Natural
How you style your hair and use makeup can play a significant role in how your ID photo turns out. While you want to look your best, simplicity and natural appearance are key. Below is a detailed list of tips for keeping your hair and makeup appropriate for your ID photo:
- Keep Your Hair Neat and Tidy
- Ensure your hair is well-groomed and styled neatly.
- Your face should be fully visible—avoid any hair covering your eyes, ears, or face.
- If you have long hair, consider pulling it back into a simple style that keeps it away from your face.
- Opt for styles like a ponytail, bun, or a neatly pinned back look to avoid hair distractions.
- Make sure your hair is not falling into your face, as this could obstruct your features and lead to photo rejection.
- Go Light on Makeup
- Keep your makeup minimal and natural.
- Avoid heavy foundation or any makeup that alters your natural appearance.
- A light layer of foundation, some mascara, and a subtle lip color are usually sufficient for a neat and natural look.
- Steer clear of dramatic eye makeup or bold lipstick that might distract from your facial features.
- The goal is for the makeup to enhance your appearance without overshadowing your natural features.
Lighting: Get the Best Illumination
Lighting plays a critical role in ensuring the quality and clarity of your ID photo. Poor lighting can result in shadows on your face or distort the true color of your skin, which can lead to the rejection of your photo. The goal is to achieve well-balanced, flattering lighting that showcases your natural features without harsh effects.
Natural light is your best friend when it comes to taking ID photos. Whenever possible, position yourself near a window or in an area that is bathed in soft, natural light. Natural light tends to be the most flattering and produces the most accurate colors, helping to showcase your true complexion. It can help avoid the harshness and unevenness that artificial lighting can sometimes create. However, it’s important to avoid direct sunlight, as it can cast strong shadows and cause overexposure. The key is to find a well-lit spot where the light is diffused, creating a soft and even illumination.
Flash photography is something to avoid when taking an ID photo. While it might seem like a quick way to brighten up the photo, using a flash can create unwanted glare and harsh shadows, especially on your face. Flash can also result in reflections that obscure your eyes, making the photo less suitable for official use. Instead, opt for soft, ambient light that illuminates your face evenly and naturally. This type of lighting is ideal for ensuring a clear and balanced photo that highlights your features without any artificial effects.
Overhead lighting is another lighting setup you should steer clear of. It can cast shadows under your eyes, nose, and chin, which might make your photo appear less flattering. Instead, use side lighting or lighting from the front that helps eliminate shadows and ensures your face is evenly lit. A well-balanced light source will help bring out your natural features and produce a high-quality, professional-looking photo.
Positioning and Framing: The Camera Angle Matters
| Aspect | What to Avoid | What to Choose | Why It Matters | Tip |
| Camera Angle | Avoid taking the photo from above or below eye level. | Keep the camera at eye level. | Photos taken from an improper angle distort facial features. | If using a phone, place it on a stable surface like a tripod. |
| Camera Distance | Don’t have the camera too close or too far from your face. | Position the camera at a medium distance from your face. | A photo taken too close can cut off parts of your face, while one taken too far may lose detail. | Aim to show your head and shoulders, leaving space around your face. |
| Centering Your Face | Avoid tilting your head or turning it too much. | Ensure your face is centered in the frame. | A misaligned face can result in an uneven or awkward shot. | Keep your head straight and avoid tilting or leaning. |
| Framing | Don’t crop out part of your face, such as your chin or forehead. | Ensure the camera frames from the top of your head to your shoulders. | Proper framing allows the photo to meet specific ID requirements. | Keep some space above your head and around your shoulders. |
| Clarity and Focus | Don’t allow the camera to be too far or too close. | Make sure the camera is focused on your face. | A blurry photo can lead to rejection as it’s difficult to identify you. | Check the camera’s focus before taking the shot. |
Avoid Common Mistakes
When taking your ID photo, it’s easy to make mistakes that could lead to rejection. Below is a list of common errors to avoid:
- Wearing Glasses with Reflections
- Reflections on your glasses can obscure your eyes and make the photo invalid.
- If you wear glasses, ensure that there is no glare or reflection from the camera flash.
- If you don’t need glasses for the photo, it’s best to remove them.
- If you must wear them, adjust your position to avoid any reflections on the lenses.
- Poor Posture
- Slouching or leaning too far forward can create an unprofessional appearance.
- A poor posture may also distort your facial features, leading to an unacceptable photo.
- Stand or sit up straight, keeping your shoulders relaxed and facing forward.
- Ensure your body is centered, and avoid leaning to one side or tilting your head.
Taking the Photo: The Final Step
Once you have taken all the necessary steps to prepare for your ID photo, it’s time to take the picture itself. This is the most crucial part of the process, so it’s essential to make sure everything aligns with the requirements. Following a few final tips will ensure that your photo meets the necessary standards.
First, using a high-quality camera is key to capturing a clear and sharp photo. While many smartphones have decent cameras, make sure you are using a device that can capture the fine details without blurring or distortion. A camera with higher resolution will ensure that your features are accurately represented, which is especially important for ID photos. Avoid using low-quality or outdated devices, as they might not provide the clarity needed for an acceptable photo.
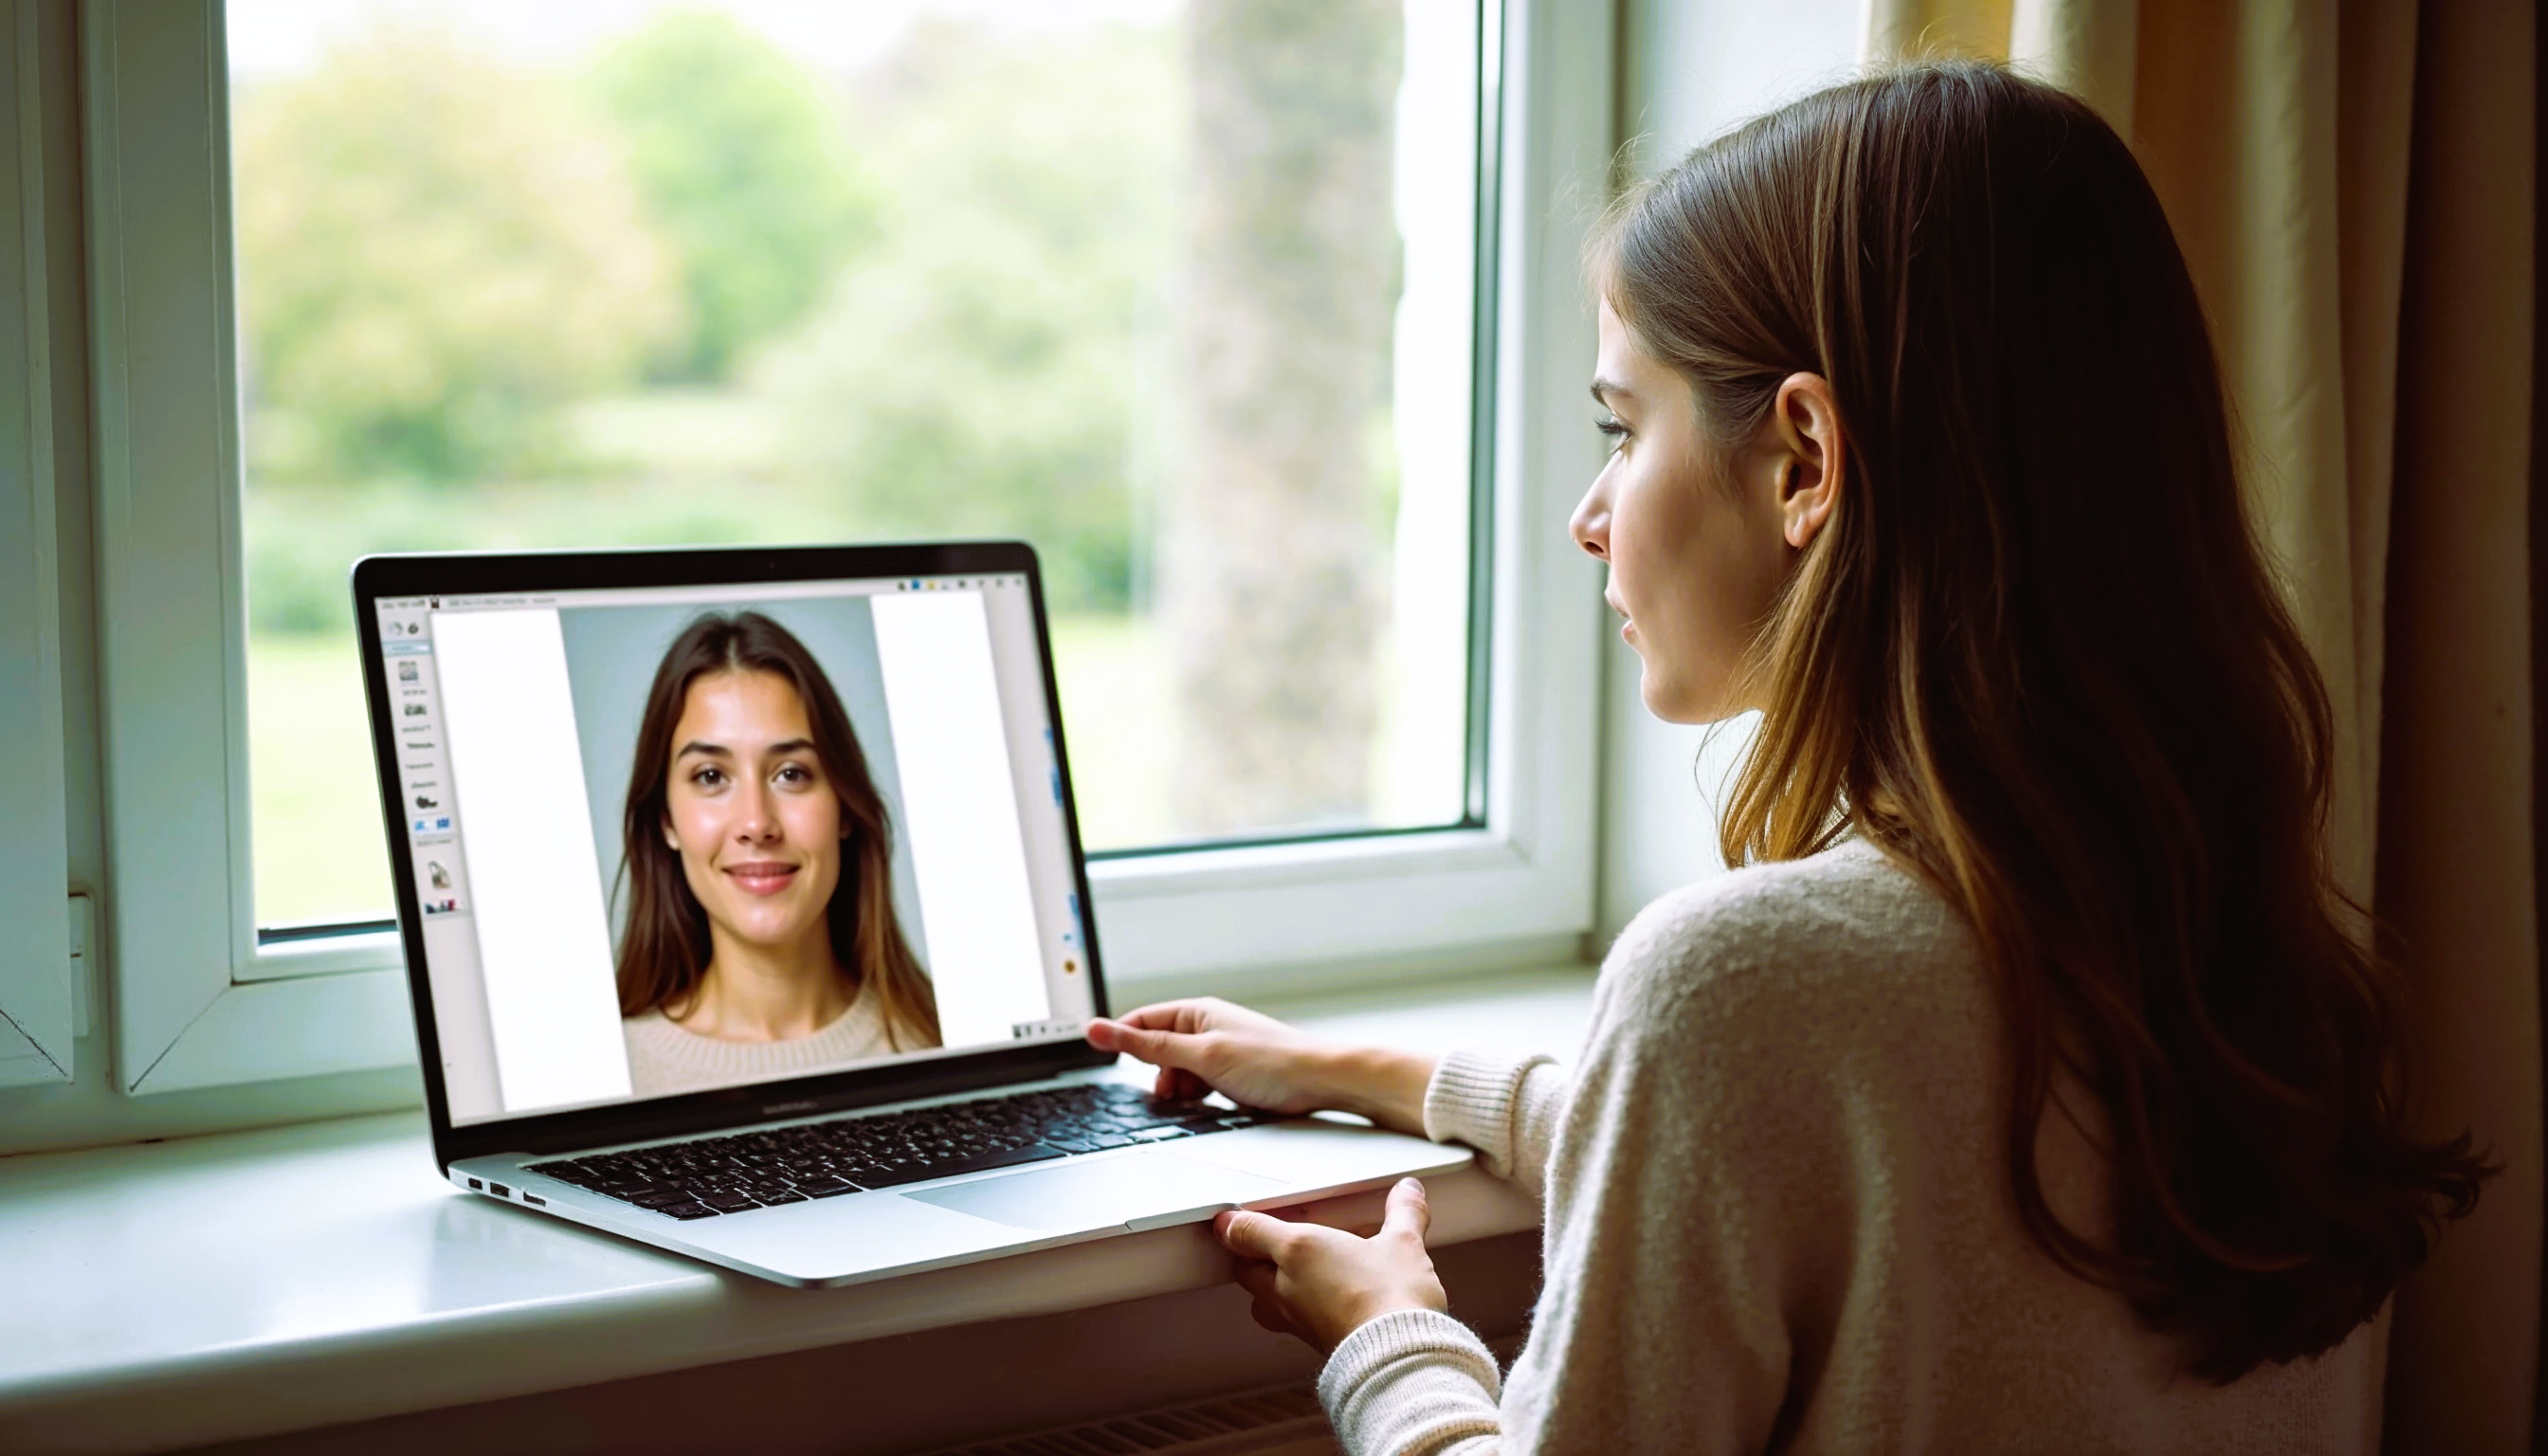
After you take the photo, don’t rush to submit it right away. Take the time to check it carefully. Ensure that the lighting, background, and positioning meet all the requirements. Your face should be clearly visible, and no part of it should be obstructed. Double-check for any reflections or shadows that might obscure important details. Reviewing the photo before submitting it gives you a chance to catch any small mistakes that could lead to a rejection.
Finally, make sure that the photo follows all of the guidelines laid out for ID photos, such as neutral expression, proper framing, and appropriate clothing. This last check is your opportunity to confirm that everything looks just right before moving forward with your application or submission. A quick review could save you time and prevent the need for retakes.
Additional Tips for a Perfect ID Photo
| Tip | What to Avoid | What to Choose | Why It Matters | Extra Tip |
| Camera Resolution | Don’t use a phone or camera with low resolution. | Use a camera with a high resolution for sharp details. | Low-quality cameras may cause the photo to be blurry or pixelated. | A camera with at least 8 MP ensures clarity for ID photos. |
| Face Visibility | Don’t obscure your face with hair, clothing, or shadows. | Ensure your face is clearly visible without obstructions. | Obstructions can make it difficult to identify you in the photo. | Keep hair away from your face and avoid wearing items that cover it. |
| Frame and Crop | Don’t crop the photo too tightly or leave too much space. | Keep the frame from the top of your head to your shoulders. | Proper framing ensures that your face is the focus of the photo. | Maintain at least a few inches of space around your face. |
| Clothing Choices | Avoid wearing anything too flashy or distracting. | Choose solid, neutral-colored clothing without logos. | Distractions from clothing can make it harder to focus on your face. | A simple shirt with no patterns or logos works best. |
| Posture and Expression | Don’t slouch or smile excessively. | Keep your posture straight and facial expression neutral. | Poor posture and excessive expression may cause the photo to be rejected. | A neutral, calm expression will result in a professional appearance. |
Common Mistakes to Avoid for a Successful ID Photo
When preparing for your ID photo, small mistakes can easily lead to rejection. By being aware of these common pitfalls and knowing how to avoid them, you can ensure that your photo meets the requirements on the first try. Here’s a list of common mistakes to steer clear of:
- Not Checking the Photo Before Submission
Many people forget to review their photo before submitting it, assuming everything is fine. This can result in unnoticed flaws, such as improper lighting or background issues, which may lead to a rejection. Always double-check your photo to make sure it meets all the standards. - Wrong Camera Angle
A poorly positioned camera can distort your features or make the photo look unnatural. Always make sure the camera is at eye level and your face is centered in the frame. Avoid taking the photo from above or below as this can create odd angles and shadows. - Using Poor Lighting
Poor lighting can create shadows on your face or distort the color of your skin, making your photo unacceptable. Avoid harsh lighting like direct sunlight or overhead lights. The best option is to use natural light or soft, diffused lighting to ensure your face is evenly lit. - Wearing Distracting Accessories
While minimal jewelry is acceptable, large or flashy accessories can distract from your face and lead to a rejection. Avoid wearing hats, scarves, or sunglasses, and keep jewelry simple and understated. Your face should be the focus of the photo. - Not Following Clothing Guidelines
Wearing busy patterns, logos, or brightly colored clothing can take attention away from your face. Stick to solid, neutral colors and ensure your clothing does not obstruct your face or head. A simple, plain shirt or blouse works best.
You May Also Like

How to Renew a Passport Without Visiting an Office
Understanding Biometric Photo Standards